docs
How To Implement Features
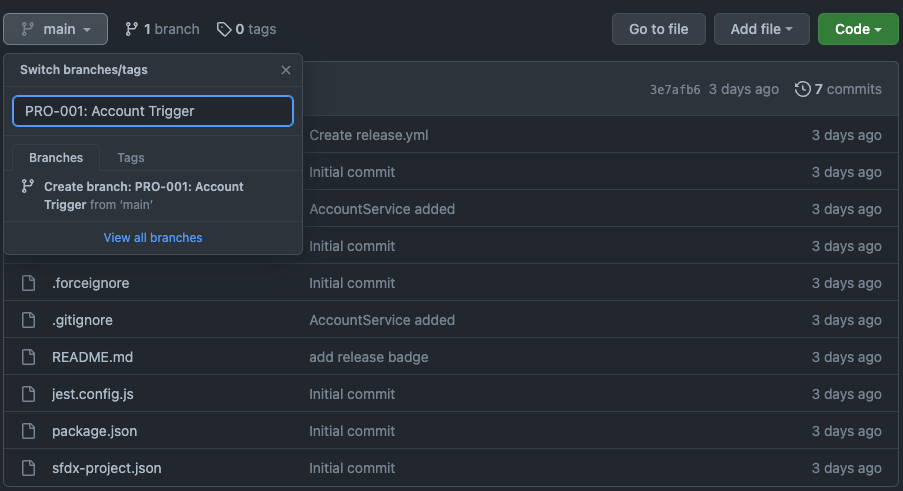
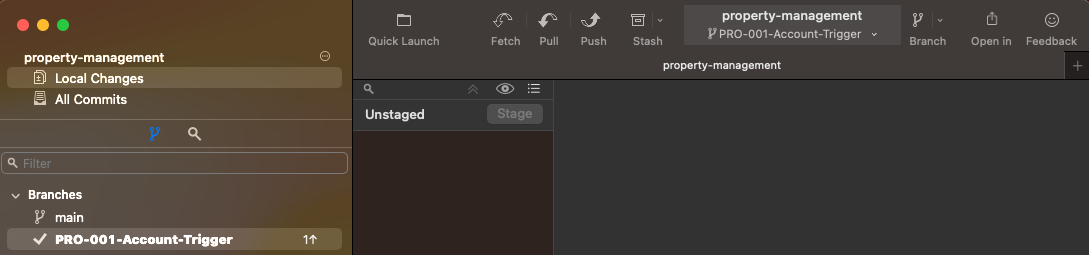
Set up feature branch
Click on main and write name for a new branch. Your branch should always have the same name as ticket, which you are working on.
Fork
Fetch to download contents from a remote repository
Press Command + O on Mac (Ctrl + O on Windows) and open property-management folder. Click to Fetch button on navigation bar.

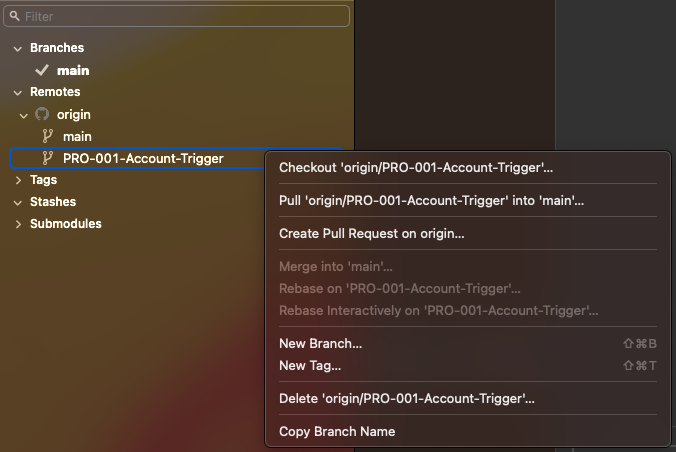
Move to new feature branch
After successful fetching you should see new remote repository on left sidebar. Right click on a new branch and checkout to move there.
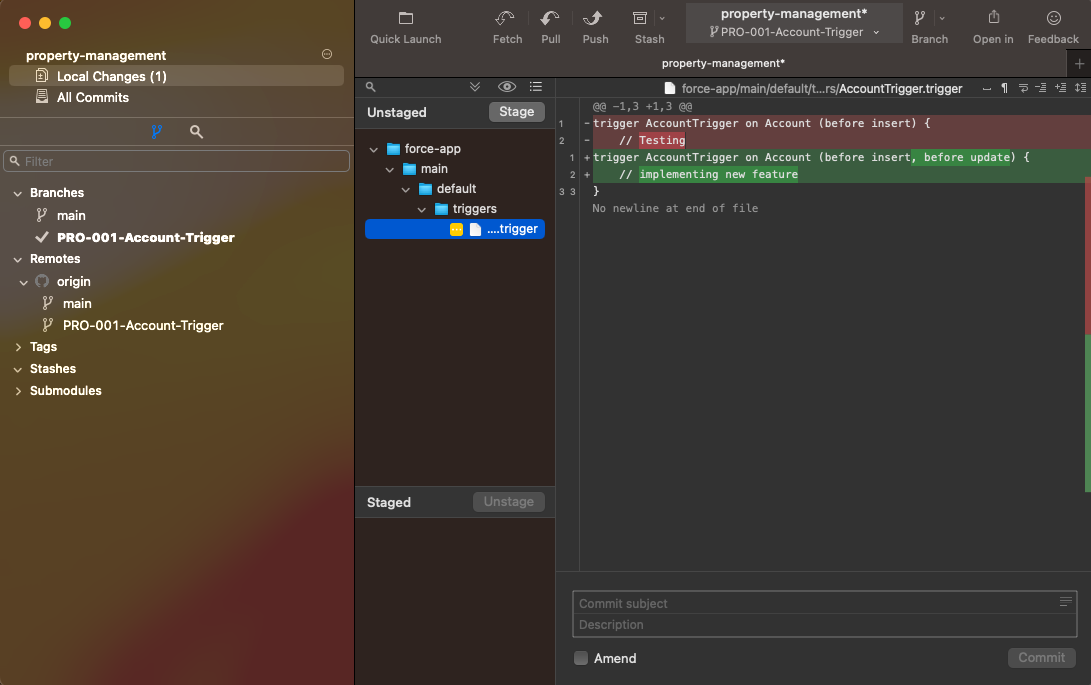
Push
After implementation, check all your changes and adding. Green highlighted code is your adding, red highlighted code is your removing
Select all your files, you need to push and click on Stage button. Write a descriptive Commit subject and click Commit button
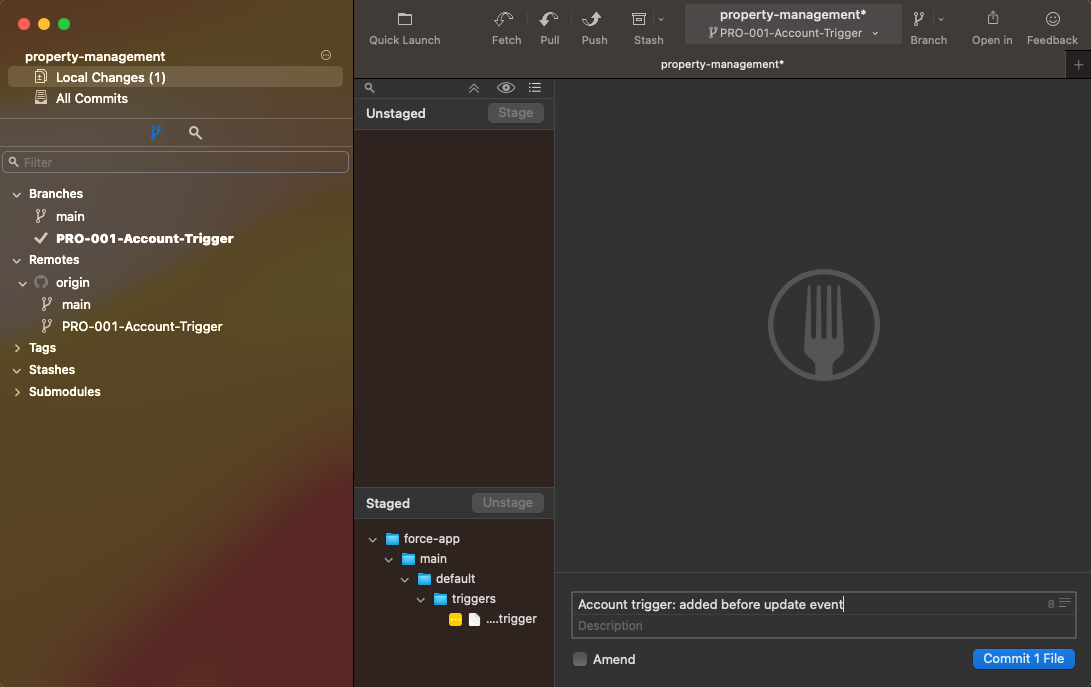
Don’t forget to click to Push button on navigation bar.
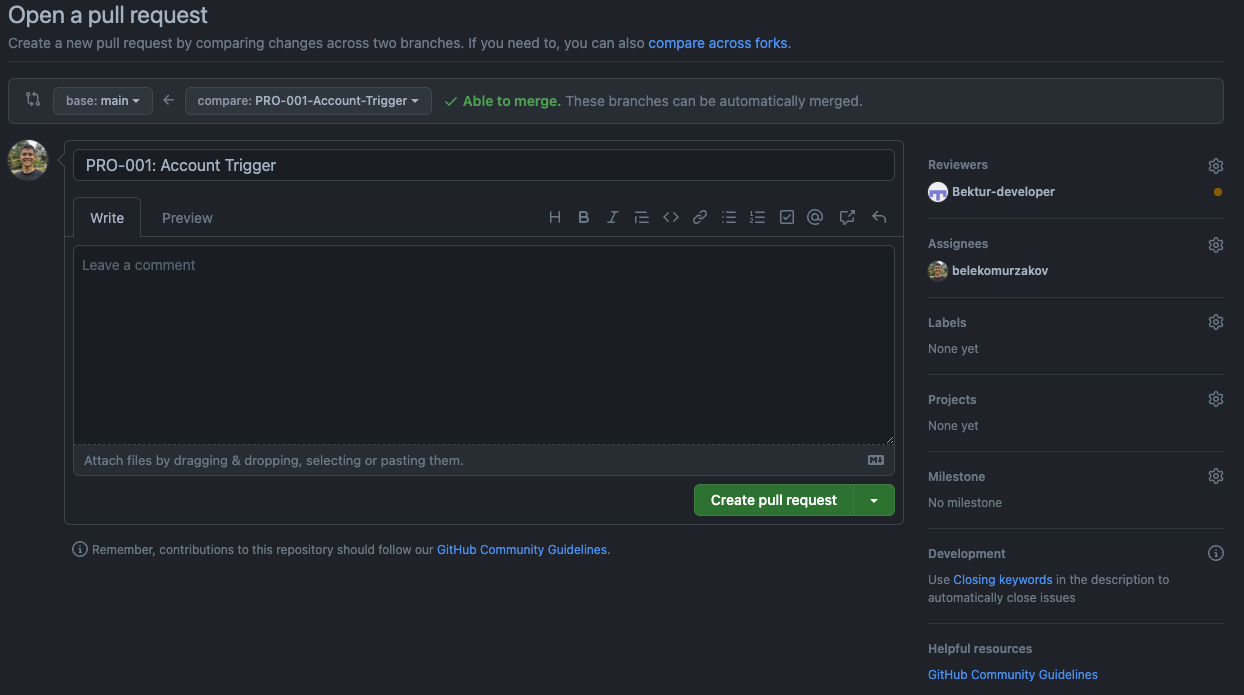
Pull-request
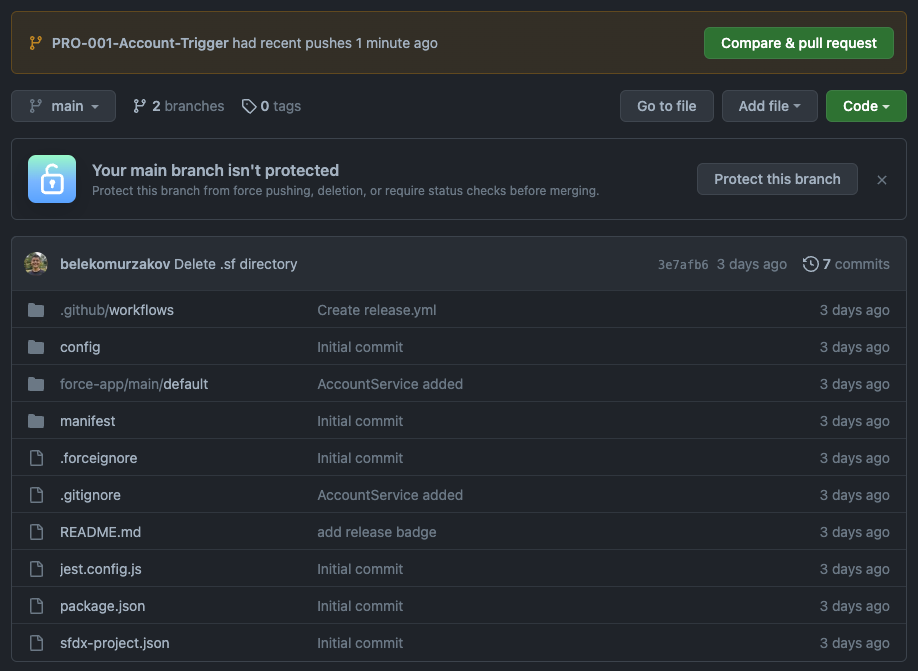
You should see notification on project’s repository. Click to Compare & pull-request and create a pull-request.
Give the same name as ticket for a pull-request title. Click to ‘No one-assign yourself’ text to assign yourself, then click to wheel right to Reviewers to assign reviewer for pull-request.
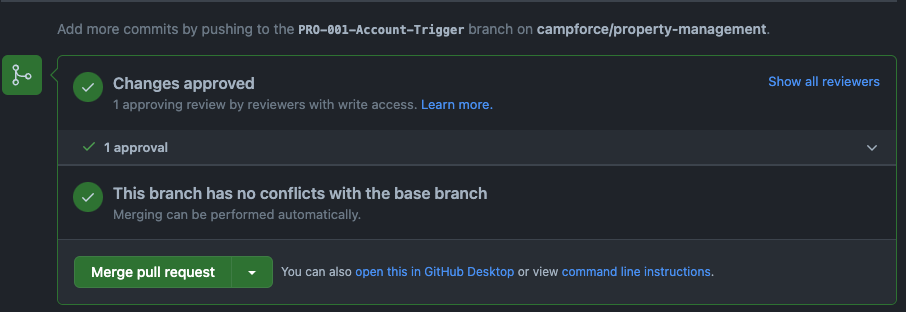
Merge
Wait for an approval from a reviewer before merging your changes into main branch.

Once you get approve you, merge your changes to main branch.
Your changes are prepared to deploy. Do not delete your branch.
